Showing posts with label Aprons. Show all posts

Wednesday, August 31, 2016

Upcycled Shirt/Apron and an Ergonomic Oven Glove!

Having large selection of Japanese Pattern Books means that there are quite a few that I haven't sewn from.


'Cotton Friend' is a more unusual Japanese Pattern Book in that it resembles a magazine rather than book format. I would have loved to subscribe to a Japanese pattern magazine like this, but I can safely say that won't happen unless I get around to doing a Japanese language course!


Sometimes, patterns stand out & are put on the mental, never-ending to-do list. This apron pattern from 2010 is one that I always thought was a clever use of fabric. It came to mind when I found the perfect shirt fabric for an apron and oven glove set that I wanted to gift to a friend. Lack of understanding Japanese is usually no barrier to sewing from Japanese patterns and this magazine is exactly the same with excellent diagrams.


I cut the apron from the back of the shirt, utilising the shirt yoke as a detail for the top of the apron. I adapted the pattern by using less shirt fabric than the pattern suggested because I didn't want the apron to wrap around so much.


My clever daughter came up with the simple idea of adding a button to the apron to hold the matching oven gloves as she thought it would be easier to find the oven gloves when they were needed!


When looking for a ribbon for the hanging loop, I found a perfectly coordinating (more like camouflaged) ribbon from Jane Means - the beautiful Whitby Striped Ribbon . It picks up all the colours in the paisley fabric - a design from Portabellopixie.

Perhaps I should have titled this post 'Spot the Ribbon'!!


Oven gloves always seemed badly designed and uncomfortable to use. I thought a lot about the design and having sewn the mitten pattern in the Oliver + S book 'Little Things to Sew' I decided to adapt it to create a thumb section for these double oven gloves.


The two major changes involved in using the Oliver+S pattern were lengthening the thumb portion of the pattern and adding a lining. Because of the thumb design, there is only a small amount of padding/wadding needed in the palm section of the pattern.

Adding binding helps the glove come together easily.


These oven gloves turned out very well. I could do with one of these myself and the only improvement I can think of is to move the thumb section more towards the centre so that it can fit both the right or left hand easily.

I'm not sure if a bottle of wine would have been more appreciated as a house-warming gift, but my friend seemed delighted with the set.


Pin It Now!  

Wednesday, July 30, 2014

Fun Sewing for A Toy Wedding

Not having much time for big sewing projects over the school holidays, there are still ways and means of getting some sewing in....


When my 3 year old niece wanted two of her toys to have a wedding & I got a request for simple wedding outfits, I needed no further excuse to get back to my machine.


This McCalls pattern 6005 was bought quite a while ago and it was a complete surprise when I realised that I had already cut out and organised all the tiny pattern pieces. The patterns don't quite shout 'wedding', however the pyjamas top was easily transformed into a wrap-around wedding dress by adding length and layers to the skirt part. The patterns for the leopard print coat and trousers were used for the grooms suit.


The veil, bow tie and shirt collar piece were my own creations! The fabric and trims were scraps and small leftover pieces, chosen on the premise that anything lacy and sparkly would appeal to my niece.
 
 
The 'wedding' had all the trappings of a true Irish wedding, though on a smaller scale in my brother-in-law's house with a meal, dancing, a disco and finishing with the national anthem! Of course, everyone was also talking about the clothes...


As an extra surprise for my niece, I sewed tiny (teaspoon-sized!) aprons as 'housewarming' gifts for the 'newly weds', inspired by the aprons I sewed in this post.


The grooms apron is Parsons Gray laminated cotton with janemeans beige narrow stitched ribbon as ties and a headband.


The brides apron is an Amy Butler laminated cotton, bought from this Irish shop (Pippablue). It has a Liberty print fabric pocket, janemeans narrow slate stitched ribbon ties, as well as a matching headscarf. The elastic was added to the ribbon at the neckline with a simple zig-zag stitch, to ensure the apron would fit over the head.


These little aprons were kindly modelled by Mickey and Minnie, before being delivered to a very appreciative niece.


Pin It Now!  

Saturday, September 14, 2013

Sewing Aprons with Ribbon Straps ...

... and links to Free Apron Patterns


Having sewn very little over the summer holidays, I decided on some easy sewing to get me motivated again. As a gift for a couple who got engaged, I thought aprons might be appreciated. There are lots of apron sewing patterns available, so I chose two, the Emmaline Apron from Sew Liberated and a free apron pattern from a collection on the Internet.


The Emmaline Apron was the more difficult to sew of the two aprons, mostly because I changed the pattern to include ribbons instead of making straps. This might not have been the best choice for a reversible apron, as I had to use a double layer of ribbon, but I think it worked.


The skirt portion of the apron involves sewing the 2 layers of fabric wrong sides together, then turning the right sides out.

On the other hand, the two fabric layers of the top or bodice portion are gathered and sewn with the right sides facing out. The ribbon is then sewn around all the raw edges on both sides for a neat finish. I chose a few different spotty ribbons from janemeans to complement the colours of the stripes and flowers.


I love that it's reversible, and the floral Alexander Henry print is a perfect foil to the stripes on the other side. Having sewn a shark shirt for my husband for last Father's Day, I'm a very recent convert to these great fabric prints.


The Emmaline apron pattern is one of the most unusual apron designs I have seen. As utility items, aprons can generally be shapeless and are simply created to cover garments. This apron has an empire waistline, so the straps tie a little higher than the waist. The darts in the skirt combined with the gathers in the bodice create a very 'shapely' apron (as seen in the pattern pictures), that begs to be worn for eating as well as cooking!


The second apron is from an excellent collection of free apron patterns on the Internet. The specific pattern I adapted came from a vintage pattern e-book (page 6). Men, those that I know at least, tend to not use aprons much, so choosing camouflage fabric was my way of hoping it would be worn!

My efforts at taking pictures of it were comical. I chose the garden so I would have space to open out the aprons, totally forgetting about the camoflage fabric!


This apron was surprisingly easy to sew considering I thought there would be difficulties with the seams on the curved sides due to stretching. Folding in the raw edges twice, 0.5cm and then 1cm and pressing them made the sewing very quick. I also used ribbons on this apron, but chose striped janemeans ribbons. The ribbons were pushed under the last 1cm fold, then brought around to the front and sewn. All the corners are mitred for a neater finish.


The ribbon for the neck straps is strengthened by sewing two ribbons together. To make the neck straps adjustable, I added a loop with D-rings which will hopefully allow for a better fit.


And a final picture showing how effective the camouflage fabric actually is!


It might a very interesting experience to wear this camoflage apron for the garden barbecue!


Pin It Now!  

Monday, February 11, 2013

Sewing on a Budget - Aprons and Napkins

With Valentines day almost here, it was impossible for me to resist this free pattern from Hot Patterns for Abakhan Fabrics Creative Budget Challenge. These challenges are now on Pinterest and the board is a very useful collection of projects which can be completed on a budget. Abakhan are also running a Pinterest competition to win one of 4, £20 vouchers which is worth checking out.
 

The Sweet Nothing's Retro Apron Pattern is a great pattern to sew and would make a perfect gift at any time of the year. I made some slight changes to the pattern by using bias binding for the ties as well as using pre-ruffled trim. This saved me both time and fabric, so I was able to make two aprons.
 
The fabric and notions I used were:

100% Navy Cotton with Strawberries 112cm wide x 1 metre for £6.25
Pleated Polka dot ribbon and tulle Trim x 4 metres for 1.30 = £5.20
Spotted Bias Binding x 4 metres for .55 = £2.20
Super stitch Thread 457 metres x 1 for £0.59
Total = £14.24 (for 2 aprons and 8 napkins)

These aprons were a lot of fun and such a simple and quick make. I sized down the pattern to make the smaller apron. Though I didn't have enough ruffled trim for the circumference of 4 pockets, I had plenty to add trim to the tops.

The pictures could be better, I'm not sure if it was the light, or if it was the contrast between the red and navy, which affected the focus.


There was some fabric left over, enough to make 8 table napkins. I could have hemmed each of them, but it would have made them much too small, so I planned to bind all the edges. I had yellow fabric left over from a previous project for Abakhan, so there was no extra cost. But the biggest problem was the mitred corners. I have tried these a few times before, and they have never looked good.

This time I persevered 'Fearlessly'! I checked YouTube and found a very helpful video, and then practiced!!! Each napkin has 4 corners, and with 8 napkins, that's 32 times to practice mitred corners on binding.


It almost worked like magic! I'm not sure there's a secret, but folding the bias binding in half lengthwise, pressing, then sewing both raw edges to the right side first as in the video link. The corners just formed this neat 'mitre' on the front - I can't believe it worked so well and it feels like a major achievement.

I think I sewed some very respectable mitred corners! and have completely lost my fear of them.


(The fabric and notions for these aprons and napkins were chosen by me and supplied by Abakhan Fabrics, free, as part of their challenge to sew on a budget)

Pin It Now!  

Thursday, September 16, 2010

More School related sewing ....


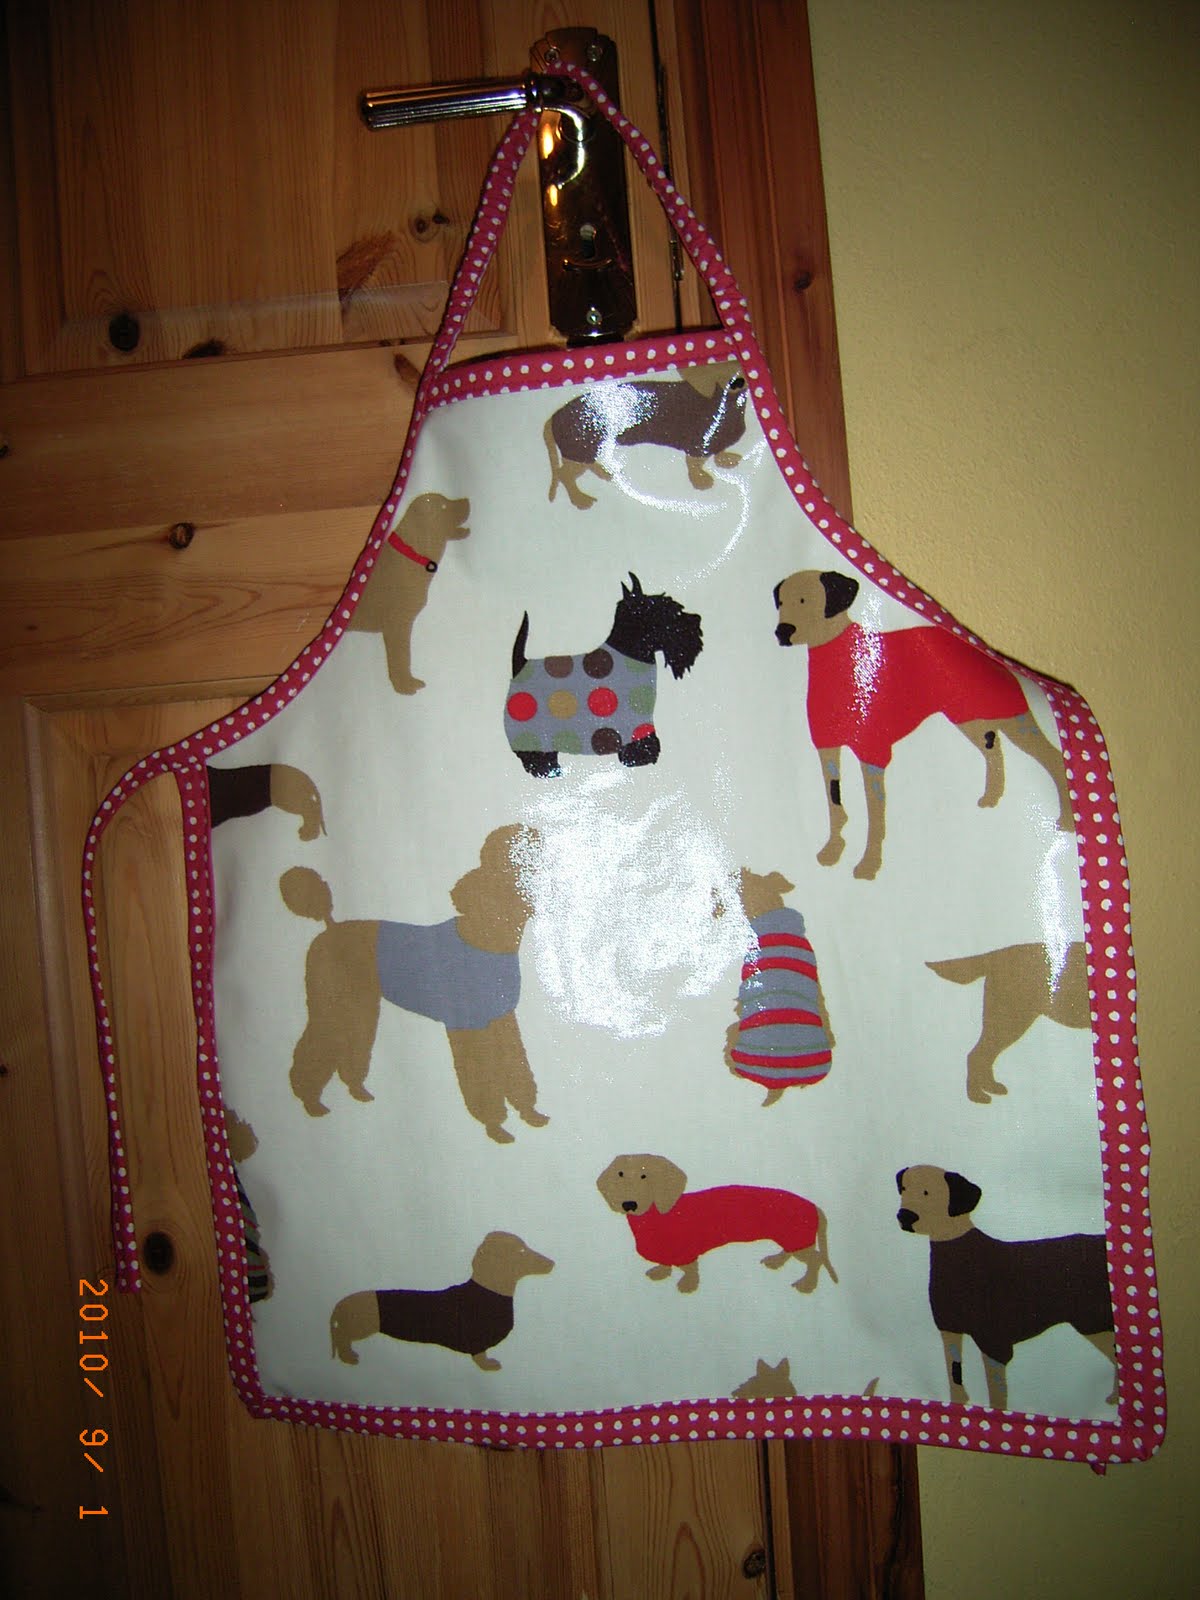
Another requirement for school for the younger 2, was aprons. These should really be the type with long sleeves, but the oilcloth I used was too heavy to consider adding sleeves, so basic aprons it was.
These are incredibly easy, just cut the apron shapes and sew on bias binding.
I added elastic to the neck binding for a better fit.

I lined the inside, mostly to hide the wrong side of the oilcloth.

Two very happy customers!

Pin It Now!