Showing posts with label Burda. Show all posts

Tuesday, March 31, 2015

Burda knit dress & using tiny ribbon pieces

 
All parents of school-going children should be prepared for the 'colour' days that happen in schools which are often for fundraising. There are red days to support county teams, blue days for autisim awareness, green days for our national Saint and last week we had a yellow day for cancer support. I don't normally sew for each colour day, but this time I was glad of the excuse to take a break from communion dress sewing.

This girls dress is from the current issue of Burdastyle magazine 4/15 no.136. Every month there are a few children's patterns in the magazine and I have always liked their sizing and fit. This dress was no different. I graded up a size to 134, just to allow for some growing room, but the dress would have still fit well.


It's an interesting design, with the neck facing applied to the outside. It is also clearly well-designed as the facing fit beautifully and I love how neatly the shoulder seams align. This would be straightforward on a woven fabric, but usually much more difficult on a knit fabric.


Though I used a stable knit fabric (not very stretchy) I didn't want the shoulders to get stretched with wear. The best way to do this is to stabilise the shoulder seams with interfacing which is hidden. I took a different approach by choosing to make the stabiliser more obvious and picked some janemeans stitched ribbon.


The green stitched ribbon is placed under the shoulder seam while it is being sewn, and a second line of stitching is sewn along the ribbon and seam edge. Once the ribbon and seam are pressed it forms a neat finish to the seam as well as preventing the shoulder seam from stretching and sagging. Of course this is also a perfect way to use those tiny pieces of beautiful ribbon leftover from bigger projects.


I altered the pattern by not including a back opening, and not adding neckline and pocket piping. The instructions recommended sewing the side seams and then inserting the sleeves but it was much quicker to sew each sleeve to it's armhole and the sew each sleeve seam and side seam all at once.


I just had a day to sew the dress so unusually didn't consult my daughter on the fabric and the pattern, but she was thrilled to have a yellow dress and got very involved (obviously, I suppose!) in picking out the fringe and neckline trims.


Pin It Now!  

Wednesday, August 8, 2012

Saved by Ribbon ....

I'm being very dramatic, but this dress nearly drove me crazy. Matching the lines on gingham fabric could take a few posts, if I started!! seams kept puckering, tension was wrong, I seemed to be ripping every second seam. It just did not want to be sewn, though eventually I managed to produce this ...


To start at the beginning, my 8 year old niece wanted a yellow dress for her birthday present. I got strict instructions that it was to have puffy sleeves, be twirly and frilly. This involved combining elements of some Burda patterns and this Butterick pattern, or so I thought. The Butterick pattern was put aside once I saw this difference between it and the Burda bodice....

The picture shows the huge amount of ease included in the Butterick pattern (sizes 6-8 with 1.5cm seam allowance) compared to my traced Burda bodice on top(size 7&8 with no allowance)

My nieces measurements were much closer to the Burda sizing so I took the bodice from Burda 2/2011, the pleated skirt from Burda 2/2012, the sleeves from Burda 5/2010, drafted the back 'v-shape' and bias neckline and hem ruffles myself and this is what it started to look like ...

I really wasn't liking this dress while sewing, which is unusual for me because I love sewing dresses! It reminded me of a nightdress or a bad version of an 80's dress, like this one I Pinned, or this Little Vogue version...

The Saved by Ribbon bit?

At one stage I was going to put the dress away and start again with a different pattern and fabric, then I thought of ribbon. Initially I tried red gingham but it didn't help. However, this 'vintage red stitched' ribbon from janemeans.co.uk is pale yellow and red and matched perfectly. (It's not very clear in the pictures but this ribbon has stitching along the centre which reminds me of sashiko, that beautiful Japanese embroidery.) I considered sewing ribbon on the neckline ruffle and the sleeve cuffs also, but it would have been too much, so I sewed it to the waist and to the pockets. I love the difference the ribbon makes.


I didn't do a bad job matching the ribbon at the zipper - don't look too closely at the gingham though!


The whole dress is lined because the gingham was a light almost sheer fabric. This meant it was also necessary to line the sleeves to make them 'pouffy'

There is binding on both layers of hem ruffles to hide the raw edges.


The zipper is also bound so that the dress would be comfortable to wear. I meant to sew the zipper between the lining and gingham, but couldn't do this because I had already sewn the bodice and bodice lining together at the side seams ( the dress was sewn without any pattern instructions - which might account for a lot of my difficulties)


The dress will be much shorter on my niece as she is quite a few inches taller than my daughter. By time I was finished, I decided I almost liked it, but I have no plans at all to make another!


Edited: Linked to Justine's Sew&Tell at http://www.sewcountrychick.com

Pin It Now!  

Tuesday, June 19, 2012

Instant gratification ..... Of the sewing kind!

Late last night, I decided to buy my first 'digital' Oliver+S pattern. I have downloaded patterns before e.g. from Burda and Stitch Magazine, and the matching and taping together of up to 30 sheets of A4 paper is time-consuming and annoying to put it mildly. Also, the layout of downloadable patterns is not consumer-friendly at all. For example: the first picture is of pattern pieces for dolls dresses, some of which could easily fit on one A4 sheet, instead of being spread out over 4 - 6 sheets.

As there was a sale for Oliver+S digital patterns, and I only wanted to make one part of the pattern, I decided to go for it. I bought the Swingset Tunic and Skirt.

I was completely, pleasantly, and wonderfully surprised! The download was quick. I opened the file to find that the pattern pieces are placed so that they take up the least amount of A4 sheets possible. Because I only wanted to make the tunic, I had to print out 7 (just SEVEN!) pages. Each bodice and bodice lining piece was on a page of it's own, so a LOT less sticking together of pages is necessary.

After that it was a case of the planets aligning! An order of ribbons from JaneMeans arrived in the post this morning. And that was it, once I decided on the Liberty fabric, and to use the orange ribbon for straps, I just had to sew the pattern up.


I lengthened the tunic to dress length, and added a slight a-line shape to the pattern piece for the lower part of the dress.
Using the ribbon for straps, saved some time and turned out very well. I also added velvet ribbon at the curved seam of the bodice, because it was just lost in the fabric and is too beautiful a detail for that.

The Liberty fabric is a Tana Lawn, so is very lightweight. The orange ribbon at the hem provides some structure to the dress. These ribbons were bought from an English company JaneMeans that I only heard of recently. Though their business is gift-wrapping, they are a great source for ric-rac and velvet ribbons, which can be hard to find.


Because I made this dress so quickly there was no time for 'consultation' with my daughter on fabric and colour choices which is what we usually do, but I knew she couldn't resist 'Minnie' for the lining!

There are still a few bits to finish - the inside lining, ironing and adding buttons, but she didn't want to take it off this evening and told me she loves the colours.

I even forgot to tell her that the fabric was designed by Lauren Child of Charlie & Lola fame!!


Pin It Now!  

Tuesday, June 12, 2012

Liberty dresses

As my daughter and nieces get older, I have less opportunity to sew dresses in smaller sizes. And it's my favourite kind of sewing.

The birth of a friend's second daughter gave me a perfect reason to sew a small dress and as it was close to the older girl's birthday, I made a second!

I picked some Liberty cotton corduroy (from Shaukat, I think), combined with Liberty cotton poplin (from Sewbox) which should suit the girls colouring. The pattern I picked for the smaller dress is the Tea Party sundress from Oliver+S, which I have made lots of times, including doll sizes!


(the colour here is a bit washed out, but it's the only picture I have of the back of the dress and bloomers)

The pattern suggests using piping on the seams, and provides really clear directions for this. However, I wanted to use ribbon instead, so I changed how I sewed the seams of the skirt part. These were sewn with wrong sides of fabric together, trimmed and pressed open, then I sewed the ribbon on top.


This finishes the insides very neatly. I used a different finish on the centre front seam of the bloomers, but still added ribbon on the outside. This seam is curved, so was a little more difficult to sew. The dress hem and leg openings are sewn with bias binding, which I could have taken more care to match!


The second dress is a Burda pattern from 11/2008, and it's even longer since I sewed with this pattern. I made a couple of versions back in 2008, and another in 2010. The skirt of this dress is pleated, and the pleats are topstiched. I always omit the zip when making this, as it fits easily without it.
For a clean finish, I brought all the threads from the pleats to the inside, and knotted each one.

The bodices of both dresses are lined with a cotton voile, and the method for sewing the bodice is similar for each. After reading the list of sewing skills that Beth covered with Karen, I took much more care in trimming the seam allowances at the neckline and armholes, and the lack of bulk in the seams made for a very neat seam line on the outside.

What I forgot? Pockets!! Especially in the bigger dress, my daughter loved them at that age.

Pin It Now!  

Monday, May 28, 2012

Sewing on a Budget!

I follow The Sewing Directory on Facebook, and it's an incredibly useful resource for UK fabric and dressmaking information. About a month ago they posted that Abakhan Fabrics were looking for bloggers who would take on a monthly challenge of working within a budget of £15 using their products. So I got in touch with Abakhan Fabrics and was delighted to get the go-ahead.

Though I don't splurge too madly on fabrics and patterns, I am also very lucky that I don't have to work within a really tight budget. So I wanted to see if I could keep within a limit and still sew with my same kind of style (ribbons and twirliness!!) using mostly cotton fabrics.

It took me a while to decide what to sew, but I chose Simplicity pattern 2171 (cost £5.65) inspired by similar dresses sewn by Kathy, and she has this wonderful Facebook page all about Handmade dresses where I have seen other pretty examples of the knot/apron dress.

For the main fabric, I picked a yellow cotton which was on sale. It is described as 'Fine cotton gauze with self coloured, raised dobby spot'. (2 metres for £3.40) It's not a colour I sew a lot with so I had a look at a colour wheel and found that blue would be a good match. So I added the blue fabric (polycotton) (1 metre for £2.65),

ribbon, (3 metres for £1.14); interfacing (1 metre for £0.89); and thread (1 spool of 457 metres for £0.59), to the list.

Total Cost £14.97

I used a yellow ribbon from my stash for the apron, and also used my own yellow thread. But didn't add these to the cost as I had the equivalent of blue ribbon and thread left over.


I followed the pattern fairly closely and found it easy, with steps well explained. I made size 5 and at the moment the hairband and ruffled pants can be adjusted to size.


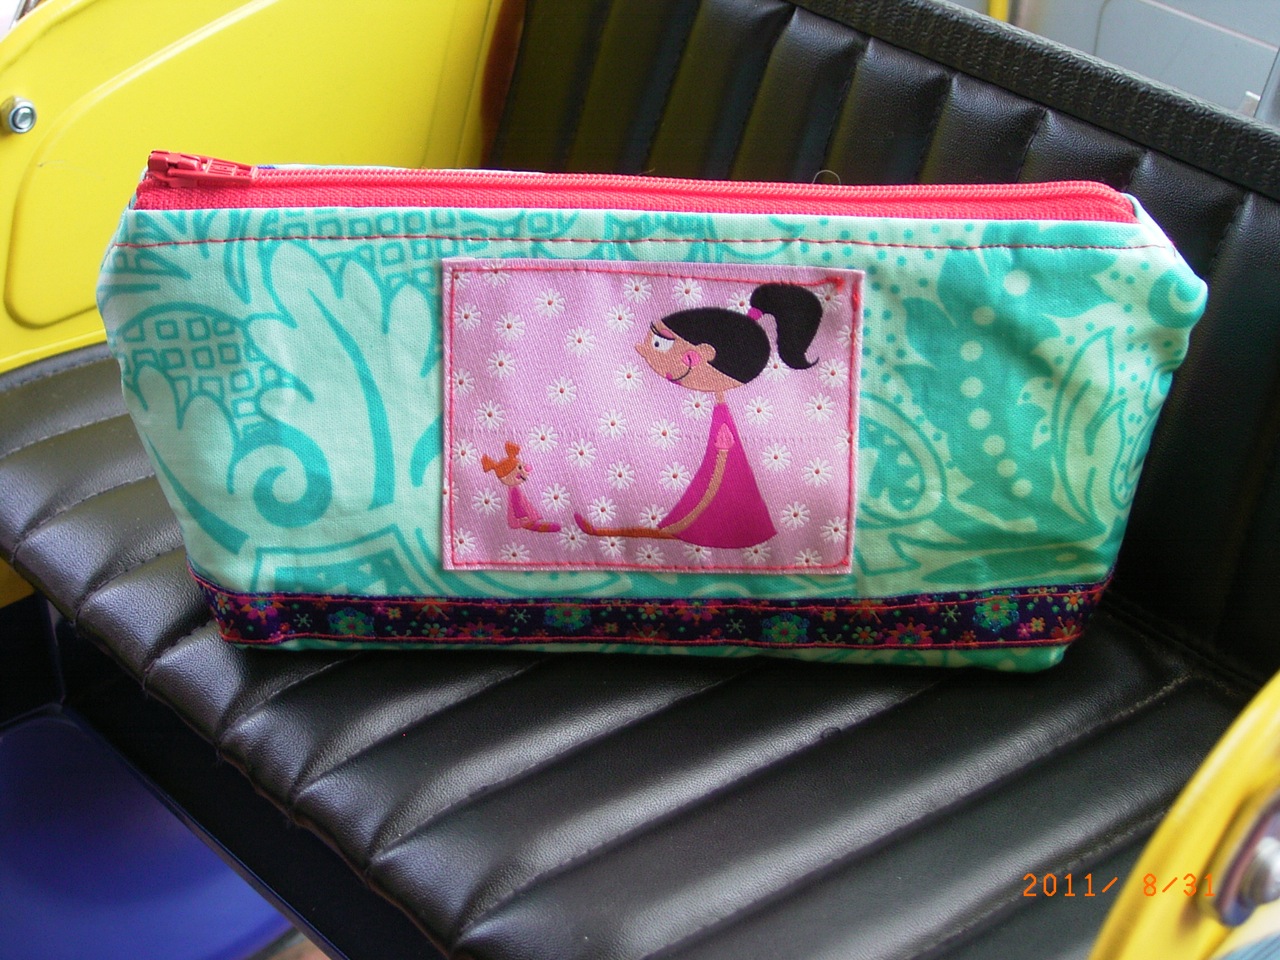
The dress is perfect for summer, though we're still not seeing much of that here in West Cork, and the matching bag is just the right size for carrying around 'buddies' (soft toys).


This last picture is blurred, but included because it shows the ruffles on the pants best, as well as a glimpse of the hairband, which is reversible - blue on one side, yellow on the other.

As I was given credit to spend in Abakhan Fabrics, I would like to 'Pay it Forward' by having a Giveaway. My daughter likes this dress a lot, but when I told her that we could give it to someone else, she wanted to have a raffle.
GIVEAWAY CLOSED
  • The Giveaway is for Dress, Bag, Pants, Hairband. Size 5, but would fit ages 4 to 7 depending on measurements (exact measurements of dress: Chest 66cm; Waist 67cm, Length 62cm adjustable)
  • Simply leave a comment about what you would like me to try to sew for £15 from Abakhan Fabrics
  • I will pick randomly a week from today and post it anywhere in the world.

GIVEAWAY CLOSED

Overall, I came within budget and sewed items that would cost much more to buy ready-made.

It didn't take too long to sew. The most time-consuming part was interfacing the bag, straps and hairband, because I like to leave these interfaced pieces lying flat for a day before I use them.

The seams of the dress and pants are finished with flat-felled seams and French seams so, no raw edges anywhere.


The best part, I have enough fabric to make another dress/ tunic. I'm deciding between a dress from May Burda (lt below) or the dress from June Burda (rt below)


Pin It Now!  

Saturday, September 3, 2011

Sewing for School

After my complete non-show here for August, I thought I'd better make an effort for September! August was full of meeting cousins, travelling to see family, sleepovers, and more reluctantly getting school supplies in order.
The upside to the lack of sunny weather, is that there was lots of sewing - about 14 items, mostly clothing and some pieces for school.

This post could be renamed Tea-Party Part 3, as I managed to use this Oliver+S pattern for the 6th time as a school uniform for my daughter. It is unfinished in this picture.


I used navy bias binding of a different colour, which helps add structure to the dress, and the buttons are dark blue shell buttons from Raystitch


My daughter picked the lining (Robert Kaufman fabric) and I put in Minnie Mouse pockets as a surprise, as she has had a Minnie Mouse blankie since she was a baby. ( you can tell that I was sad at the thought of sending my baby off to school!). The inside of the dress is completely mismatched, but when my 13 year old niece saw it she decided she wanted a school skirt with a fun lining and pockets. I offered to teach her to sew it, so we'll see what happens.


The apron is from the Oliver+S book Little Things to Sew, and is very easy. I loved sewing it, and was amazed by the quality of the laminated cotton, so much different to oilcloth which just perforates. It's from Amy Butler and bought from Pippablue an Irish online shop.(edited to add: this is an actual shop in Galway city, and they were very helpful when I ordered this fabric) The fabric label is from Farbenmix, and put there just to add a bit of pink!


Inside view of French Seams.


A matching pencil case, front ....


... and back.


I've just realized that I also made 1 cardigan, 2 white blouses, 2 tracksuit pants and a tie, but I only have pictures of two red polo shirts added because they were the first plackets I've ever sewn,( here without buttons or an ironing) and they turned out surprisingly well considering the fabric is a knit. The pattern is from Burda magazine 4/2010 #130A


Last, but of course not least, one of the boys gets something. The six year old started reading Dr. Seuss as soon as he learnt to read in school. I bought enough Dr. Seuss fabric to make a duvet cover, but I couldn't resist cutting some off to make a pencil case. It could be slightly bigger, as there was paring down of a few pencils the night before starting school -to make them fit!


With my daughter starting school for the first time and my eldest son starting secondary school, there's been a lot of adjustment around here, and not all of it the children.
Pin It Now!  

Thursday, March 31, 2011

Boy's Tailored Jacket .... continued....

Well, after that unintentional blogging break, my son made his Confirmation 3 weeks ago yesterday, and it was such a lovely, pleasant day, which was also incredibly busy, by the time all our brothers, sisters, parents, nieces and nephews arrived to our house after the ceremony.


The weather was unseasonably sunny for Ireland which meant the children (all 22 of them) spent most of the day playing outside in the garden, and the adults (18 of them!)were able to relax because the children were happy. Our families don't get together too often, simply because of the numbers involved, but all the planning, cleaning, painting and cooking is worth it when everyone has such a good time. It ended in in the usual Irish way - the sing-song!


There's always some bit of drama - my husband deciding to paint 3 main rooms in the house just two days before, and you know it didn't particularly bother me because my focus was on the jacket for my son that I felt it was 'necessary' to sew. I actually removed and re-sewed the 2 sleeves of the jacket the morning before the ceremony.


The saga of the jacket started with realising that the navy jacket I initially made was too short, despite having measured the length carefully and even shortening the pattern pieces to fit. So, 2 weeks before, I was making a new 'tailored' jacket! That looks very casual and flippant written down, but I can assure you I was not at all casual about it :-)


Luckily I had a really nice light wool fabric which I had thought I might sew up as a skirt or dress for me, and I cut up 2 old shirts for the lining. This fabric was much more suitable than the heavier navy wool, and it was easier to sew with.


On this version, I decided to go with a vent in the back and vents in the sleeves, using Burda instructions - not a great idea. Though the vents look ok from a distance, I was winging it.


The reason I was taking out the sleeves of the jacket the morning before, was because of an absolute beginners mistake - not marking the relevant notches and then (doh!!) decided to match the seams of the sleeve with the seams on the back of the jacket, simply because I thought it would 'look' better. The hours I spent trying to figure out why the sleeves were dragging so much on the shoulders ..........


My MIL gave me a lovely silver confirmation medal that my husband had also worn, so the night before I was 'googling' how to make a ribbon rosette! I sort of winged that too, but again, it looks better at a distance!


He looked very smart in his jacket, and I think the faults were only noticeable to me.


I learnt a lot by making these jackets, checking out the details on RTW jackets is very helpful, especially if sewing instructions are a bit vague, and leaving a good long hem allowance, measuring and remeasuring the jacket length, also marking notches very carefully (less said .....!), and probably most important - "do NOT procrastinate when sewing for occasions"


but I hope to avoid making another jacket for quite a while.
Pin It Now!  

Thursday, February 3, 2011

Sewing a boys jacket

There seems to be more thinking about sewing than sewing going on here at the moment, so maybe by getting it down in writing, I'll go and actually sew.

My 12 year old son is being confirmed on the middle of March, so I thought I'd make him something to wear. A few months ago when I asked him about clothes, he expressed a strong interest in a suit like James Bond .......... How do you answer that?!


Most boys seem to dress very casually for this religious ceremony, so we needed a bit of a compromise.
I had a look through Ottobre magazines where nothing really appealed, and then tried Burda Magazines where I found a pattern for a jacket that I thought might look ok, in the
Dec 2009 issue.


When he saw the picture my son agreed, so it was decided!


However ........

between the maze of patterns on Burdas pattern sheet ...


The alterations that had to be made to the pattern pieces (-that I almost missed) ....


Fittings and refittings, thankfully I have a patient son.


........this is where I am at. It's just really slow progress, with lots of figuring out, fixing and tweaking, and crossing of fingers. I'm hoping it will turn out ok


despite my inability to even pin the jacket straight for a try-on!


I mentioned a few posts ago that I would like to sew more for boys this year, I didn't imagine I would be sewing a tailored jacket!!


Pin It Now!